

Salesforce.com , Uncategorized
June 28, 2016
Salesforce Marketing Cloud – Part 3: Upload Images & Create Templates

Salesforce’s Marketing Cloud allows you to create and sending emails to the masses or to individuals. Because this application has a plethora of features we are going to cover them in a blog series. This is the 3rd blog in the series. We are going to cover how to upload images, create a template and change the template layout in the Marketing Cloud.
Uploading Images
- From the “Email” Area
- Select “Overview”
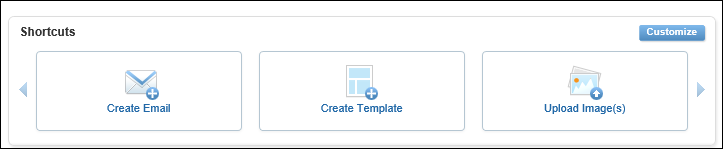
- Click on “Upload Images”
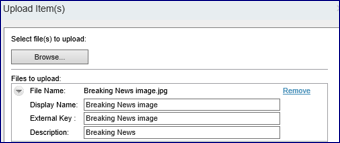
- Follow the browse wizard for adding description and uploading

- Browse your computer and select files to upload
- Enter “Display Name”
- Enter “Description”
- Select “OK”
Creating A Template
- From the “Email” Area
- Select “Overview”
- Click on “Create Template”
- Name the template
- Pick the location to Save to
- Select “Use template editor”
- Select “Save”

- Select “Create Banner”
- Select the preferred orientation (Text only, image only, image and text)
- Select “Image Only” for example
- Select “Next”

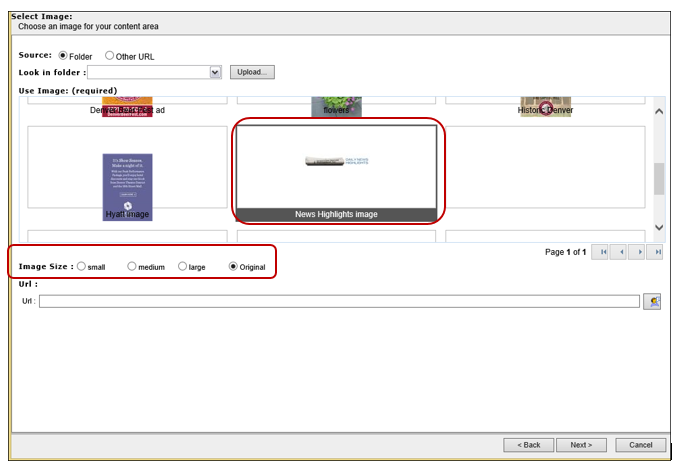
- Select the image from your folder
- Select an “Image Size”
- Select “Next”
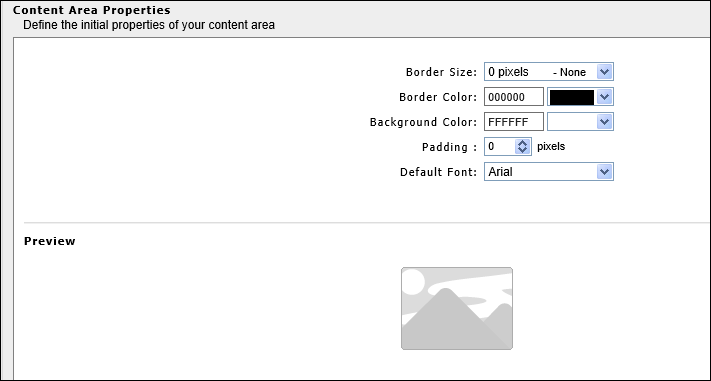
- Define properties further if needed (border color etc.)
- Select “Next”
- Review Image
- Select “Save”
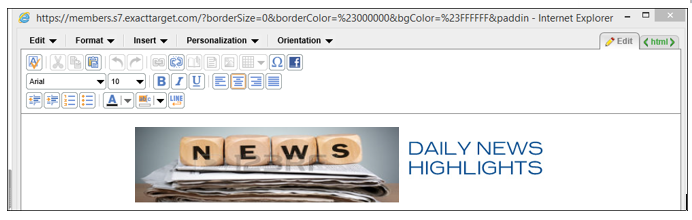
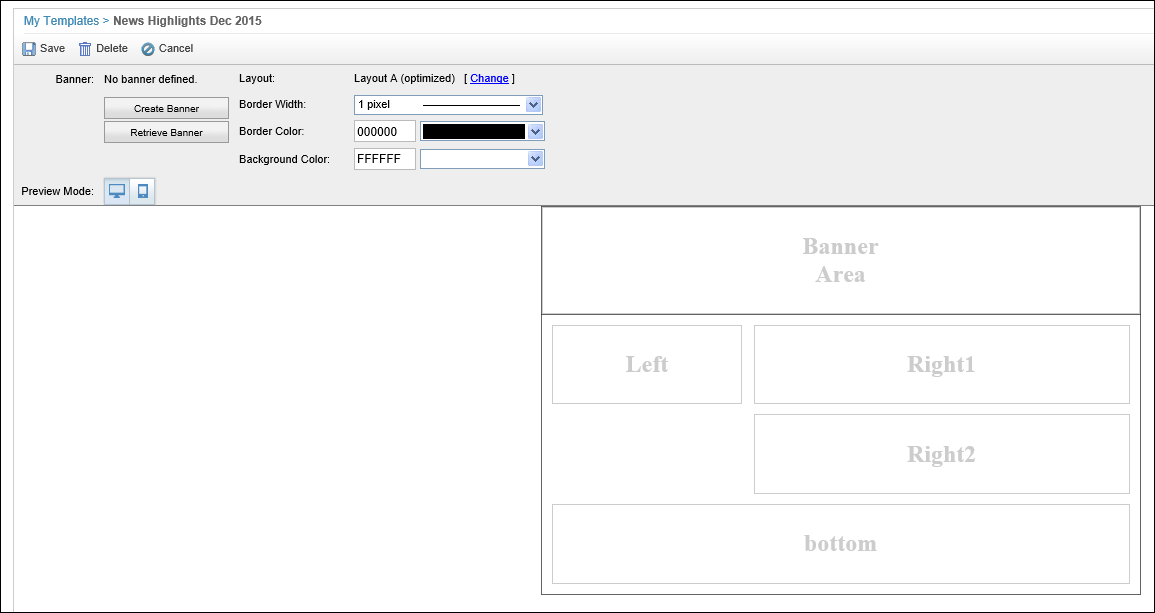
Your template is created as shown below. From here you can change color and width or you can change the Layout by clicking on the “Change” hyperlink.

Applying a Template Layout Change
- Select “Overview”
- Click on “Templates”
- Select and open template
- You can pick a template from the “Recent Items” view or select a template from the “Last Modified By” drop down.
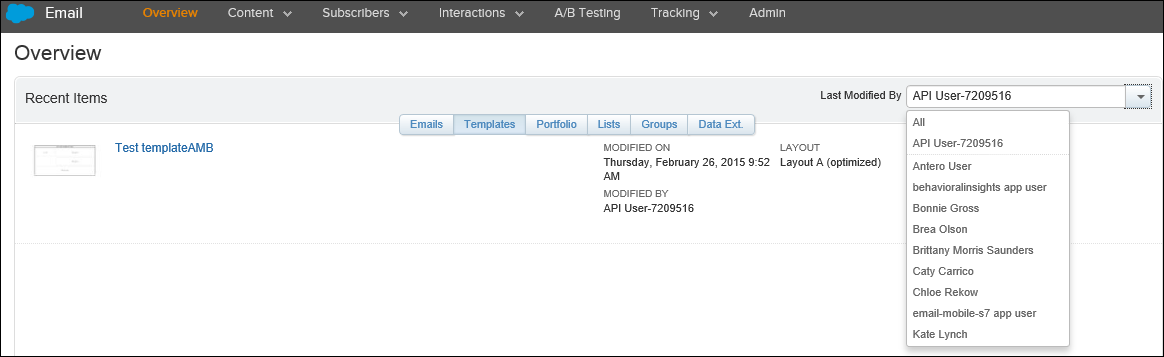
- You can pick a template from the “Recent Items” view or select a template from the “Last Modified By” drop down.
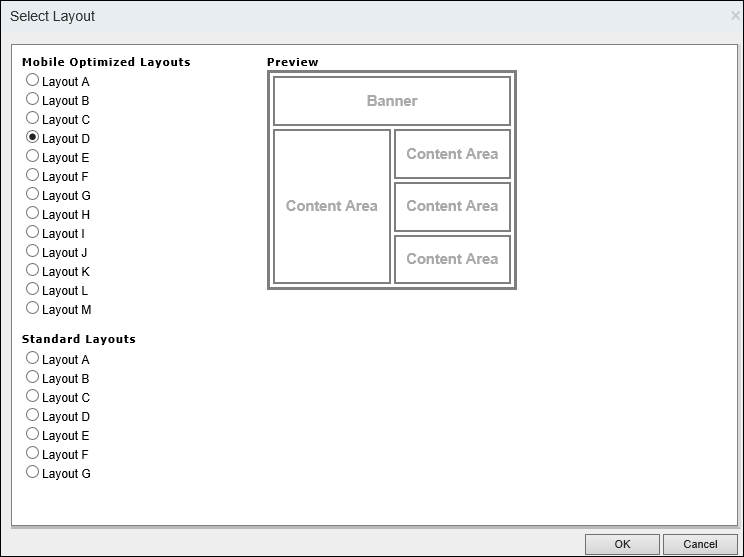
- Select “Change” hyper link next to the “Layout” field

- Select a new layout and select “OK”
- Go back to “Overview”
- Select “Emails
- Open the email
- Select “Properties”
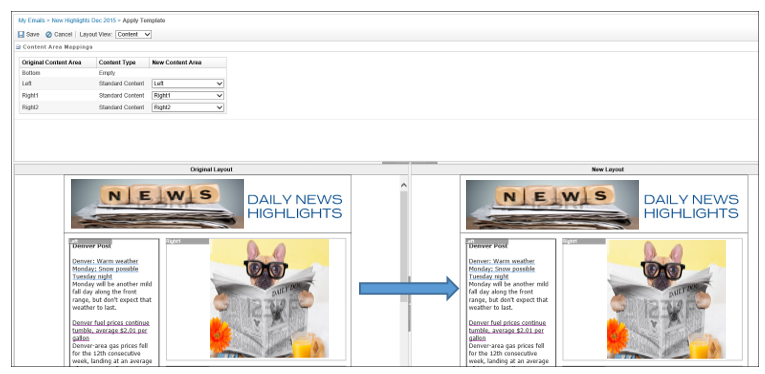
- Select “Apply Template Changes” in the Source Template section

- Drag and drop the content from the left original layout to the right new layout
Need more help? Please feel free to reach out to Antero CRM at [email protected]!
Tags:
Related Posts
- CRM User Adoption Best Practices ( June 7, 2017 )
- Single Sign-On Identity Providers in Salesforce (Pt. 1) ( March 2, 2017 )
- Salesforce Lightning UI Customizations Guide ( January 27, 2017 )
- Microsoft Dynamics CRM Themes Part 2: Adding a Logo (v 2015/2016) ( June 28, 2016 )
- Salesforce Marketing Cloud Part 2: Building a List ( April 25, 2016 )
- Salesforce Marketing Cloud Part 1: Create & Send Emails ( April 18, 2016 )
- Salesforce Winter ‘16 Release ( December 27, 2015 )
- Salesforce.com for Non Profits ( December 27, 2015 )
About the Author
The Author has not yet added any info about himself
One Comment
Recent Posts
Recent Comments
- lucyandconradroberts.online on Salesforce Lightning UI Customizations Guide
- Antero Admin on CRM User Adoption Best Practices
- Shanna on CRM User Adoption Best Practices
- Timothyovary on Microsoft Dynamics CRM Themes Part 2: Adding a Logo (v 2015/2016)
- BobbuBrowne on Salesforce Marketing Cloud – Part 3: Upload Images & Create Templates
BobbuBrowne Says :
Hello! Cool post, amazing!!!