The Salesforce Marketing Cloud allows you to create and send emails to the masses or to individuals. Because this application has a plethora of features, I am going to cover them in a blog series. Today, we are going to cover how to create and send an email using short cuts as well as how to send a test preview of an email.
Creating & Sending an Email
- From the “Email” Area
- Select “Overview”
- Click on “Create Email”

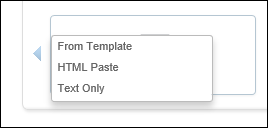
- Select Template, HTML or Text
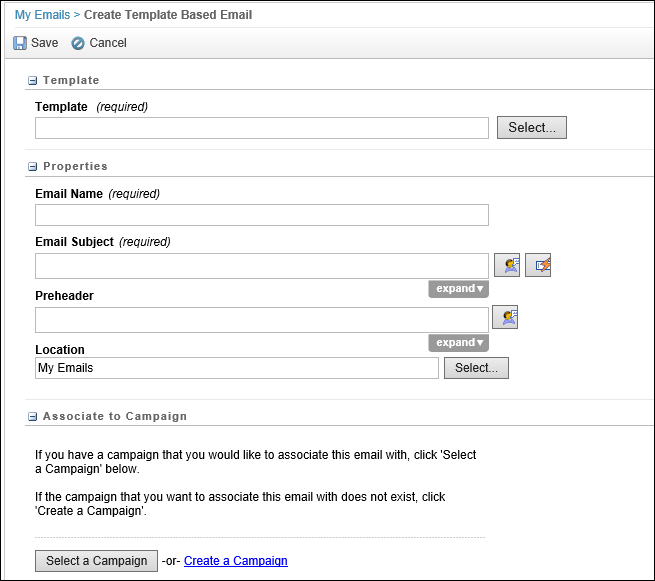
- Pick a Template
- Enter “Properties” information

- Copy and paste text for the body of the email
- Insert Images if desired
- Preview email before sendinga. Select “Send Preview” and complete the information for the Send

- To send a test email to yourself
a. Select “Send”
b. Select “Test Send”
c. Enter email address
d. Select “Send”

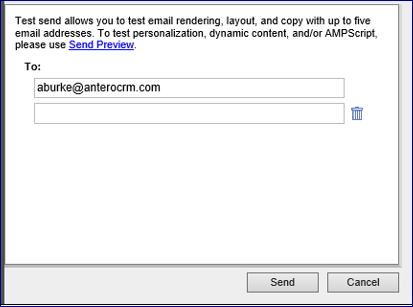
Once sent, you will receive a successfully sent message.

Sending a Test Preview of an Email
- Select “Email”
- Select “My Emails”
- Select an email by double clicking on the name

- Select “Send Preview” button at the top of the email

- Click on the “+” next to “My Lists”
- Select a list (The email will not go to the users in this list, it is select to valid users only.)
- Highlight an email address
- Select a “Delivery Profile” of “Default”
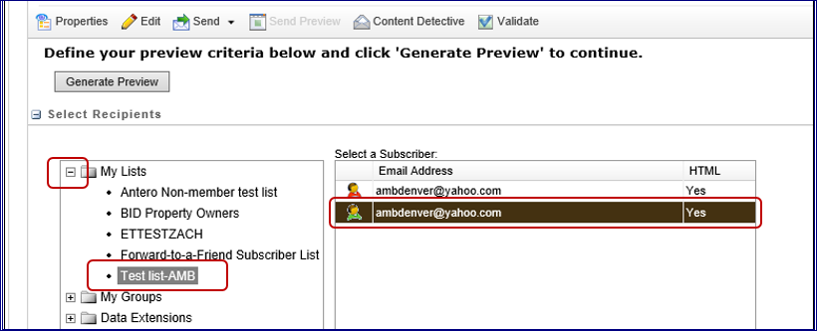

- Select “Generate Preview” to see what the email looks like to the recipient

- Select “Send Test Email”

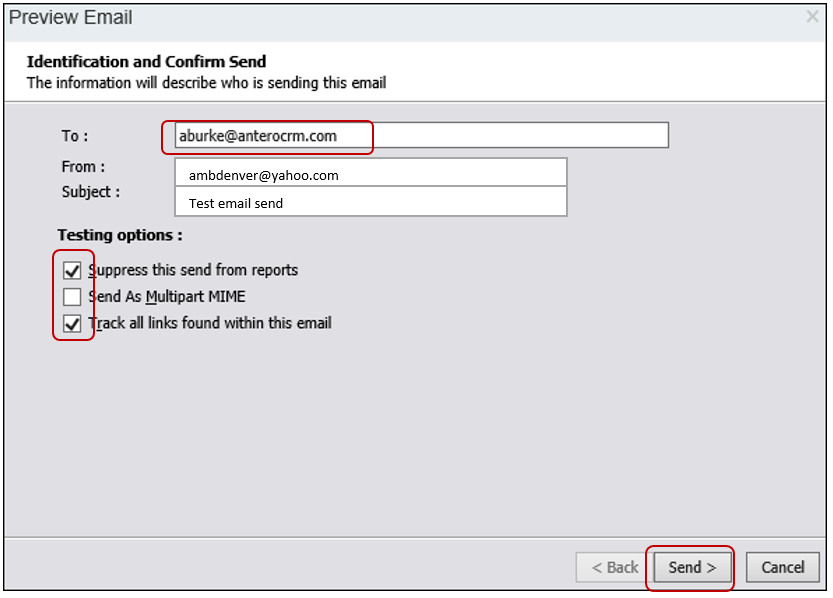
- Enter YOUR email address (The email will only go to you. It will not go to the user you selected from the list.)
- Check the “Testing Options” you desire
- Select “SEND”
Related Posts
- Single Sign-On Identity Providers in Salesforce (Pt. 1) ( March 2, 2017 )
- Salesforce Lightning UI Customizations Guide ( January 27, 2017 )
- Salesforce Marketing Cloud – Part 3: Upload Images & Create Templates ( June 28, 2016 )
- Salesforce Winter ‘16 Release ( December 27, 2015 )
- Salesforce.com for Non Profits ( December 27, 2015 )


Recent Comments