
Salesforce Marketing Cloud Part 2: Building a List
This is the 2nd blog in the series. We are going to cover how to create a list in the Salesforce Marketing Cloud and how to import subscribers to the List. Lists can be used for sending an email from the Marketing Cloud.
Building a List in the Marketing Cloud
- From the “Email” Area
- Select “Subscribers”
- Select “Lists”
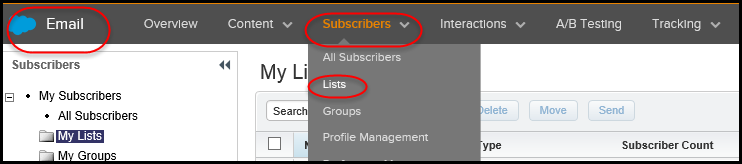
- Select “Create”

- Enter a list “Name”
- Check the “Public List” check box if you want to make the list available to others
- Enter a “Description”
- Select “Next” to follow the subscriber creation wizard
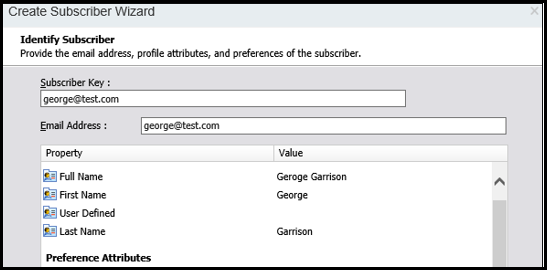
- Enter email address in “Subscriber Key”
- Enter “Email Address”
- Enter “Full Name”, “First Name” and “Last Name”
- Check their preferences with a double click in the box next to each attribute
- Select “Next”
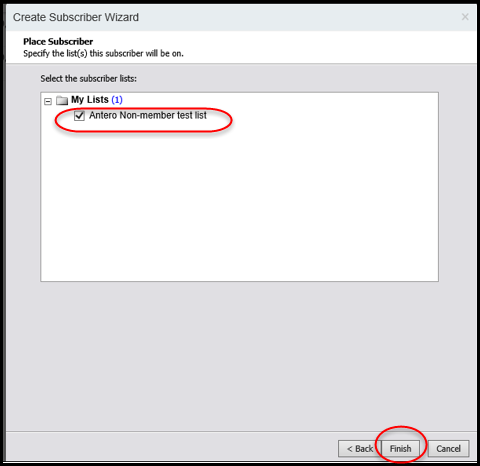
- Select the list you want to add the subscriber to
- Select “Finish”
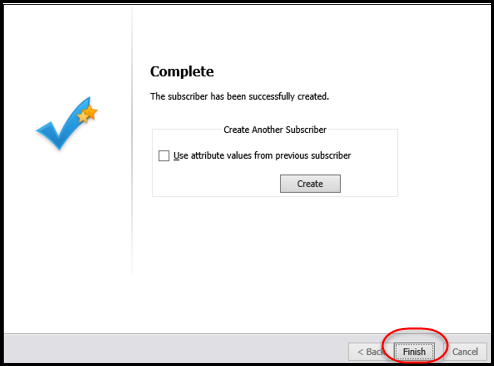
- Add another user or select “Finish” to complete the process
- Select “Next”
Importing emails to a Marketing Cloud list
- From the “Email” Area
- Select “Subscribers”
- Select “Lists”
- Select and open your list
- Select “Import”
- The wizard dialog opens and walks you through the process
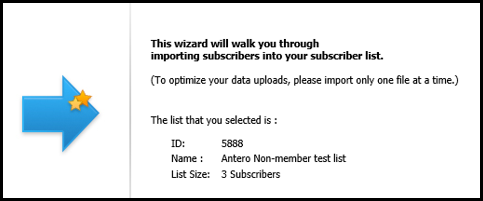
- The wizard dialog opens and walks you through the process
- Select “Next”
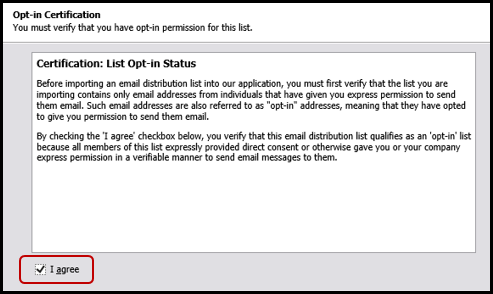
- Complete the “Opt-in Certification” checkbox
- Select “Next”
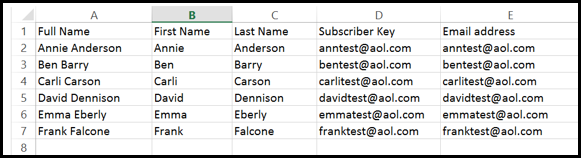
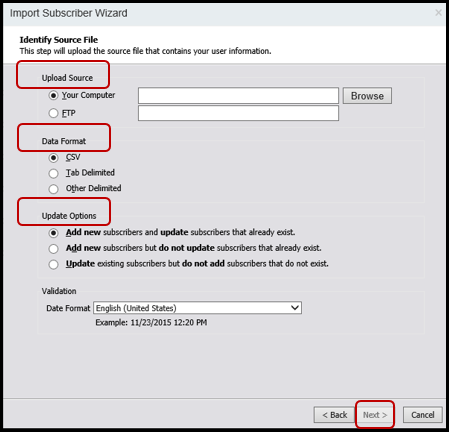
- Browse to your file on your computer desktop or hard drive (c:\)a. Your file should have the below columns headers that contain data. .csv format is recommended.
- Select the “Data Format”
- Select “Update Options”
- Select “Next” when all items are completed
- You should not have to make any changes to the next screen if the headers match the .csv example in Step 9a.
- Select “Next”
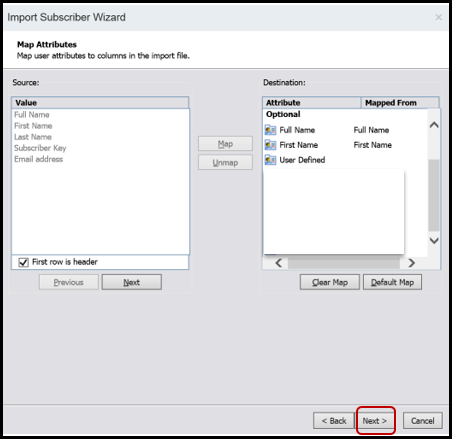
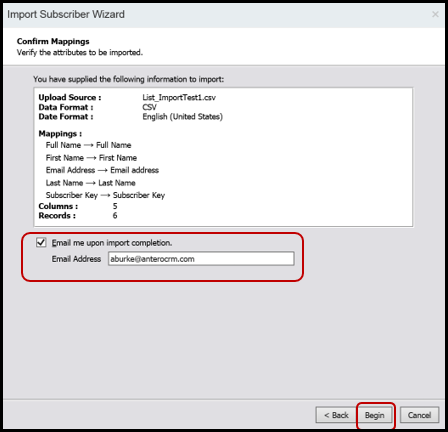
- Confirm format, field mappings, number of columns and number of rows of data in your file.
- Enter your email address to be emailed when import is complete.
- Select “Begin”
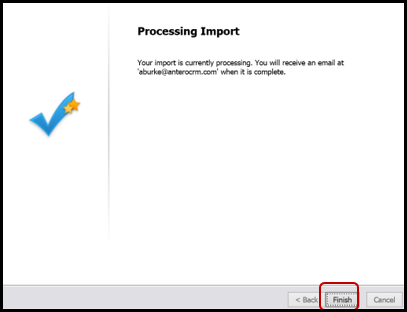
- Select “Finish”

Email Example when import is completed - Open your list (Subscribers à Lists à My Lists) and you will see the imported subscribers as shown in the example below.